Scroll down for blog

The desk is finished!

So as you may recall from my last post, I recently acquired a roll-top desk from my coworker.  It needed quite a bit of work and since then it has been sitting in our mudroom  waiting to receive some TLC.  I needed to sand it and preferred to do that outside because of the mess. Then came a weekend that was so warm that I actually got to take my project outside!

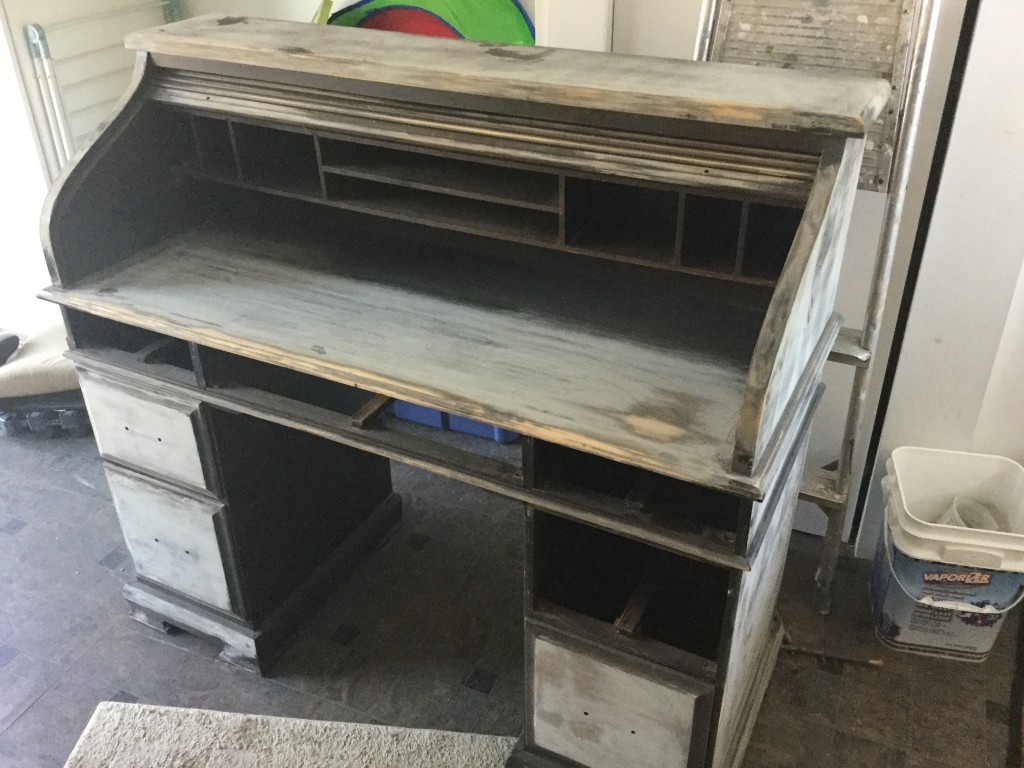
So let me tell you, sanding is way harder than I thought it would be. I was using my husband’s electric sander and it was still hard! And I quickly realized that I could only sand so much and there was no way I was going to be able to get in the little nooks and crannies.  Here’s what the desk looked like when I gave up on the stopped sanding:

sanded desk

So.  Plan B.  I wasn’t even sure of what Plan A was to be honest. I just knew I had taken on this huge project and it had to be done and sanding seemed like the logical first step. Then I remembered my friend Breida talking about milk paint and how much she loves it. I’ve seen some of the furniture she fixes up on her blog and it looks very cool. I went online to check out milk paint and chalk paint and after doing a little research and video watching, I decided to give chalk paint a try and off to the store I went. WalMart and Home Depot couldn’t help me but AC Moore had everything I needed. I bought one bottle of black chalk paint, one bottle of clear wax and one bottle of dark wax.

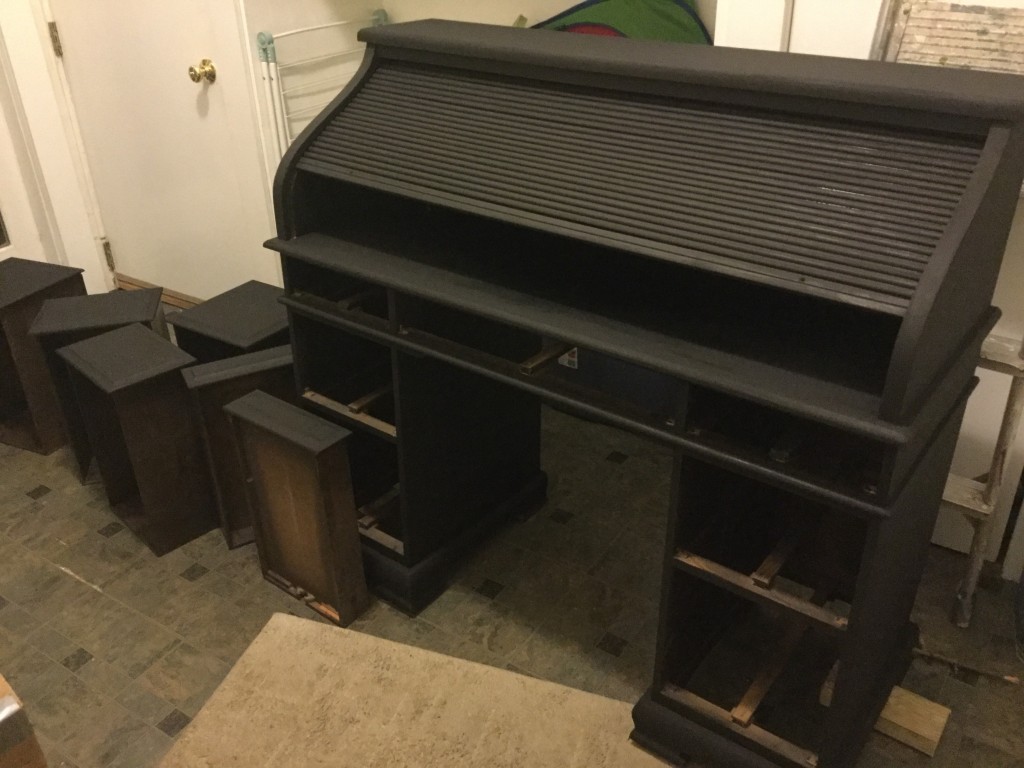
After cleaning the sanding dust of the desk, I applied the paint. The great thing about chalk paint is you can paint it on just about any surface. It didn’t matter that some of the desk was sanded down to the wood and some was still covered in the dark shiny finish. It only took one coat and the result was a VERY matte black. Like staring into a desk shaped black hole.

black hole

That dried very quickly, in fact, by the time I was done painting the drawers, the desk was already dry. Next, I waxed it with clear wax. Wax on, wax off. I applied it with a brush and wiped it off with a rag.

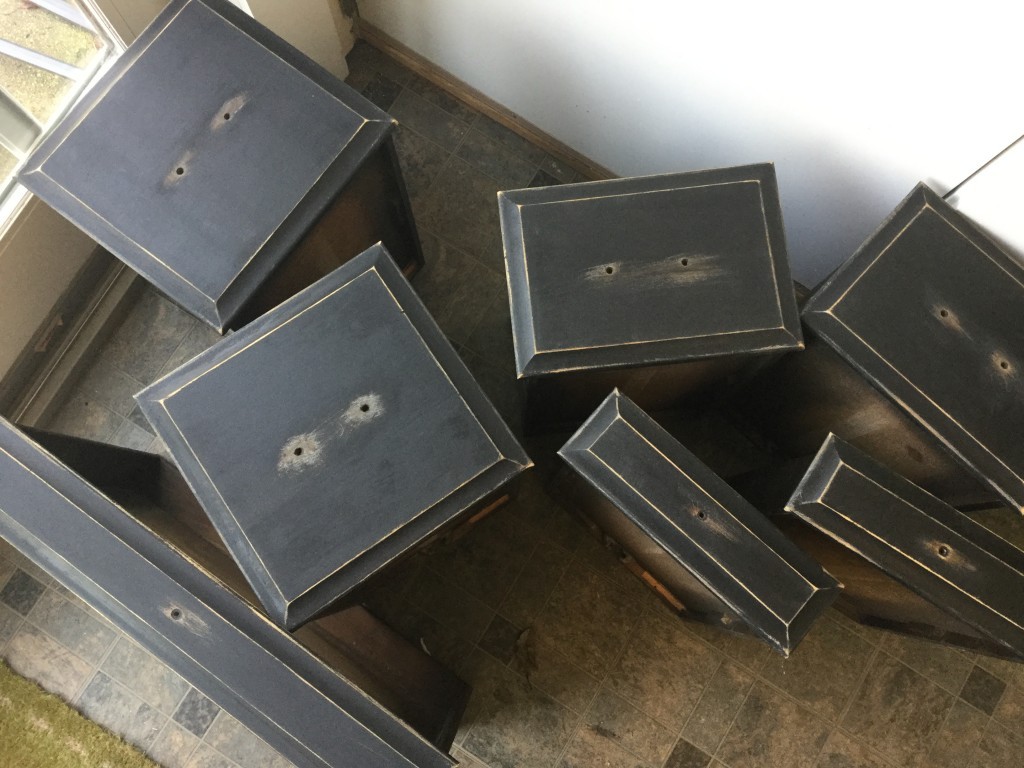
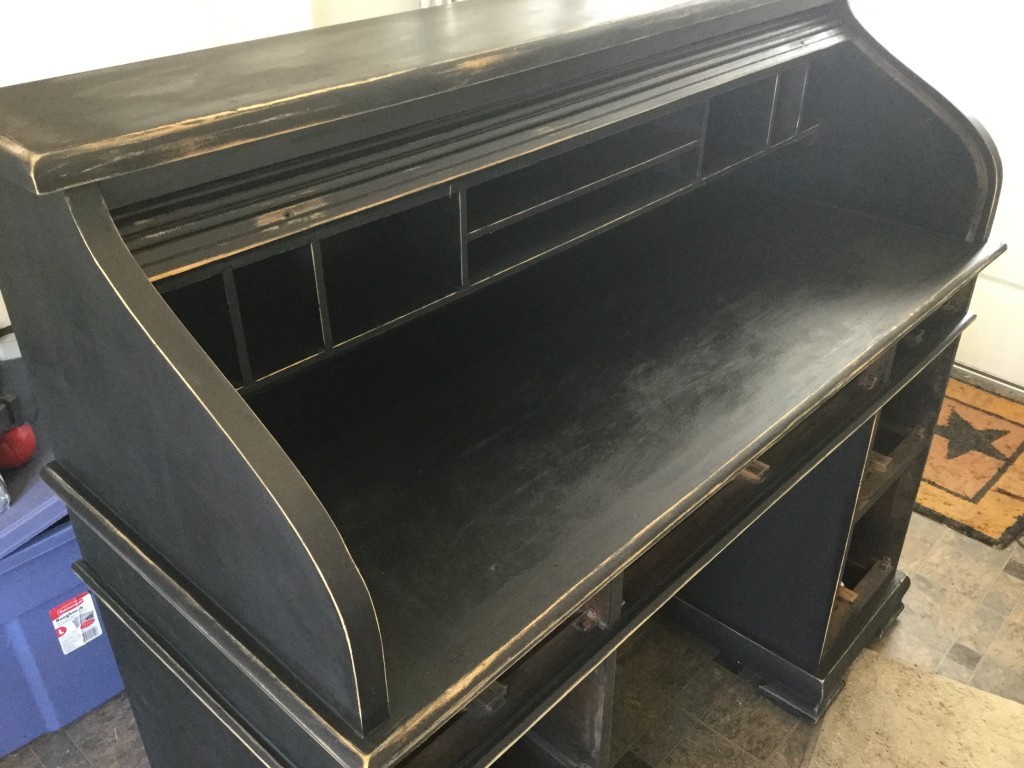
Then I took some rough sandpaper and went to work sanding off edges and areas that might naturally wear off. This was my favorite part. The desk completely transformed into a whole different creature.

distressed drawers

I love the outlined look!

distressed top up

distressed top down

Then I moved on to the next step, which was a coat of dark wax. I knew this would darken the sanded parts, but I hadn’t realized quite how much. Like the clear wax, I painted it on and then rubbed it in with a cloth.

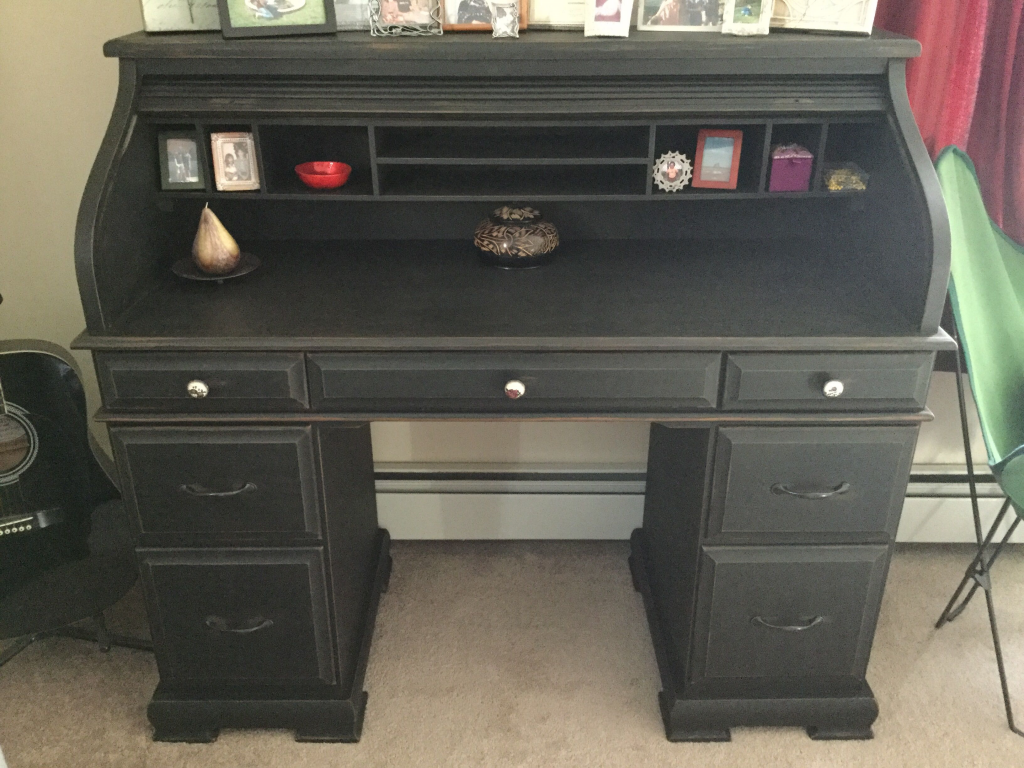
Next, the knobs and drawer pulls. The ones already on the desk were those antique brass finish pulls and I hate those. So I went to Etsy and looked for some unique drawer pulls and found the perfect ones at WallPaperYourWorld’s  shop. The owner was a joy to work with and I think they add some femininity to a very masculine looking desk. For the other pulls I went to Home Depot and just went with a simple pull that matched in color. The three from Etsy were the ones I wanted to be the focal point.

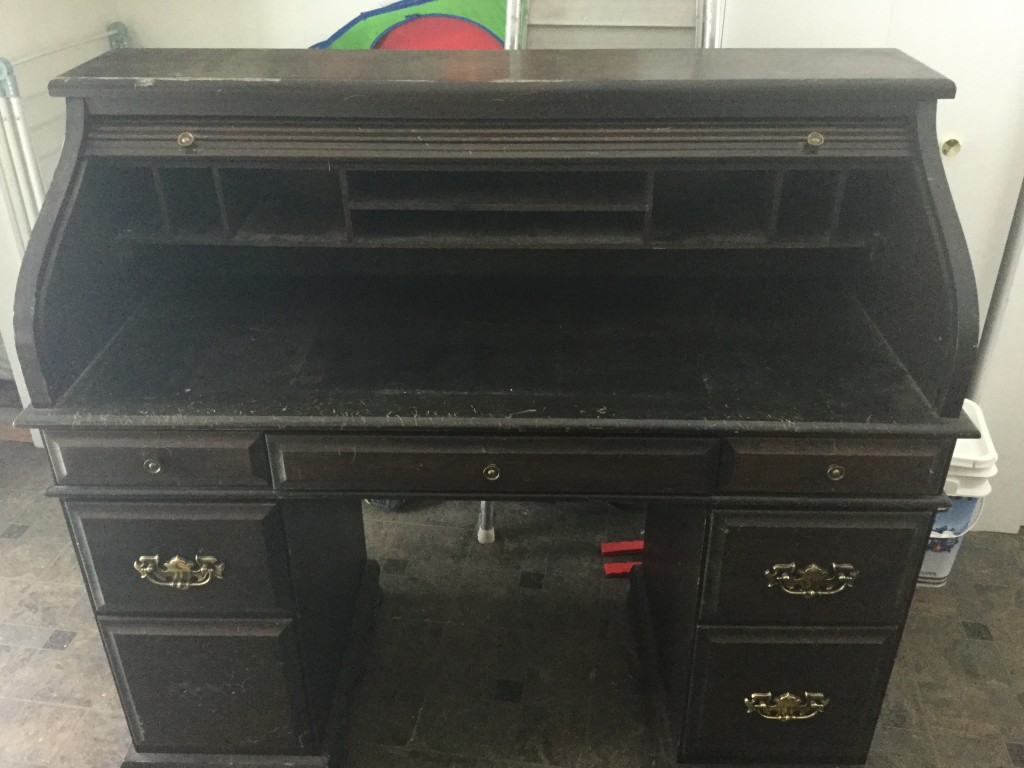
So? You want to see the finished product? Here’s the before picture:

Roll top desk

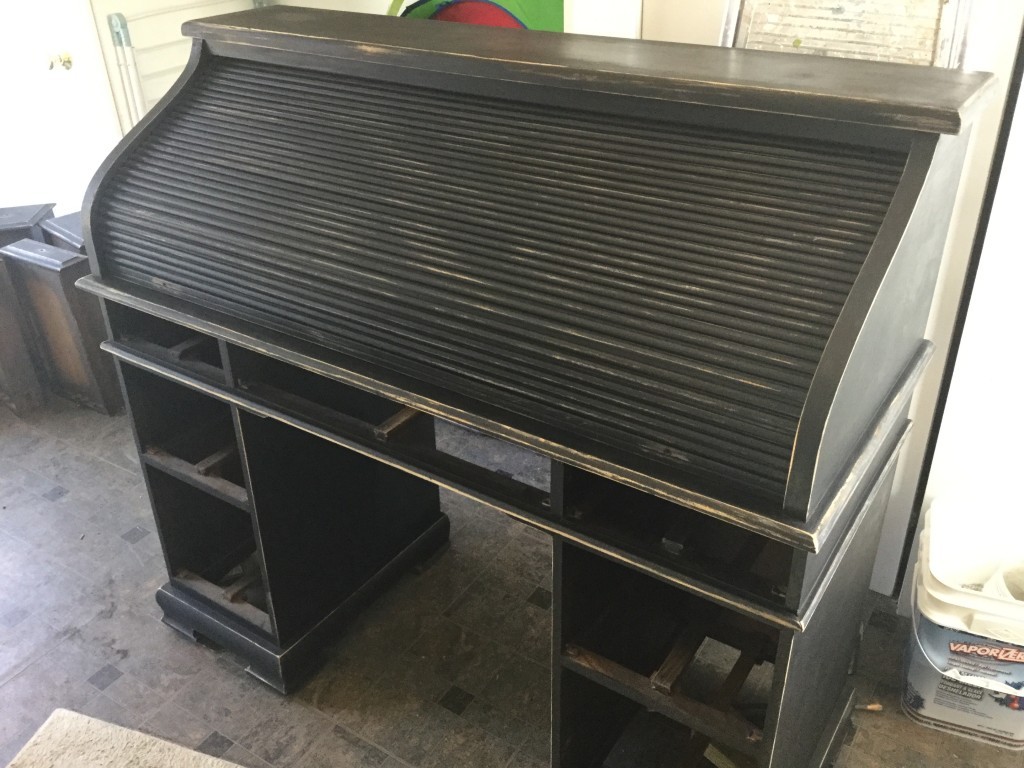
And here is the finished desk. Ta Dah!

desk finished!

I haven’t had this much fun since knitting! And now I’m addicted to chalk painting.  Even before I was done I was looking around the house to see what else I have to refinish. And you know what? I found something. And it’s almost done. I’ll be sure to show you all when it’s ready.
A New Project

Ever since I was little, I’ve had a fascination with roll-top desks. The fact that you can slide down this cover that appears out of nowhere…and hide all sorts of secret things in little drawers and shelves…they seemed magical. I’ve never had one though. Until now.

Roll top desk

This morning my friend Bryan brought me this beauty. You see, he and his family are moving to Florida and are getting rid of excess stuff and when he told me about this desk, I couldn’t believe my luck. He bought it for his wife 30 years ago when they were engaged. She said she’d rather have a roll-top desk than a hope chest. The desk has been well loved for many years and was probably beginning to fear it was at the end of its life, but I’m going to see what I can do. I’ve looked at some Youtube videos on refinishing furniture and I might be a little more confused now than I was before, but I’m still going to give it a try!

image

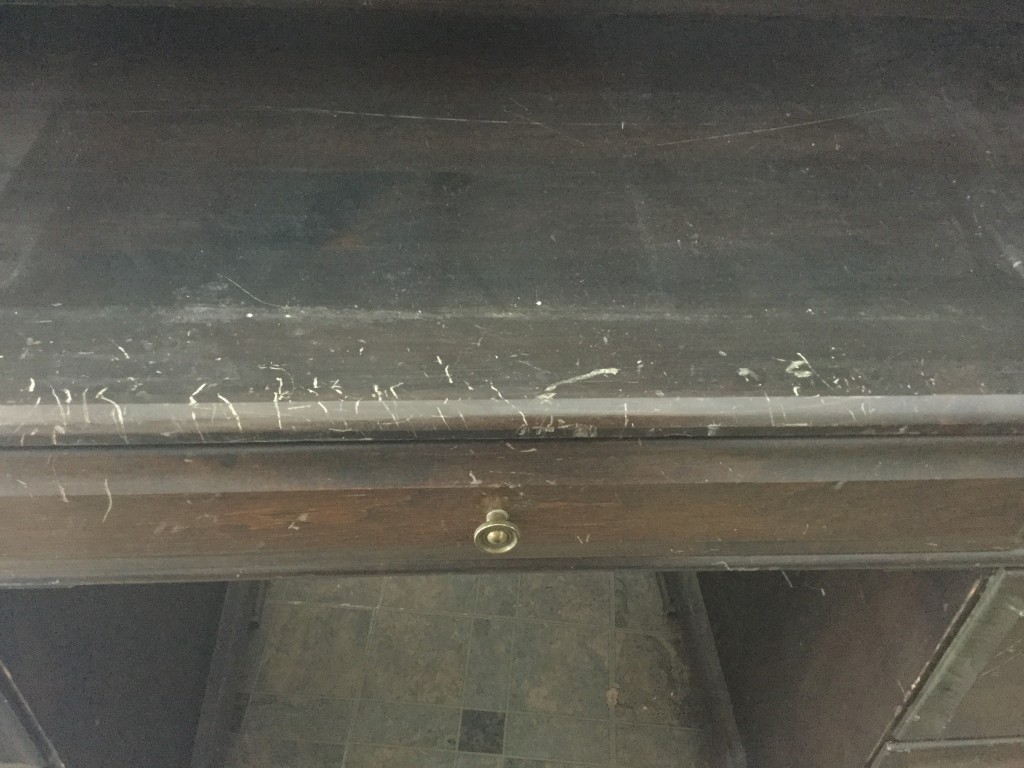
She needs some TLC. And sanding. And new stain.

image

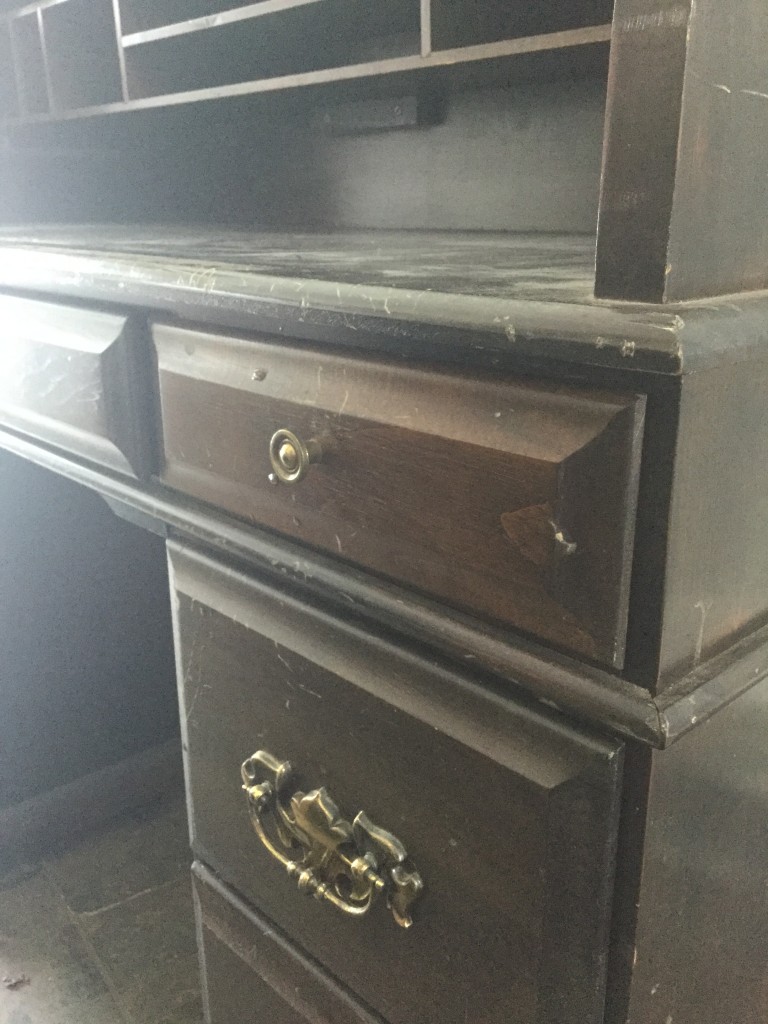
She also needs updated knobs and handles. I think this is going to be fun. I will fill you in on her progress as I work on her.

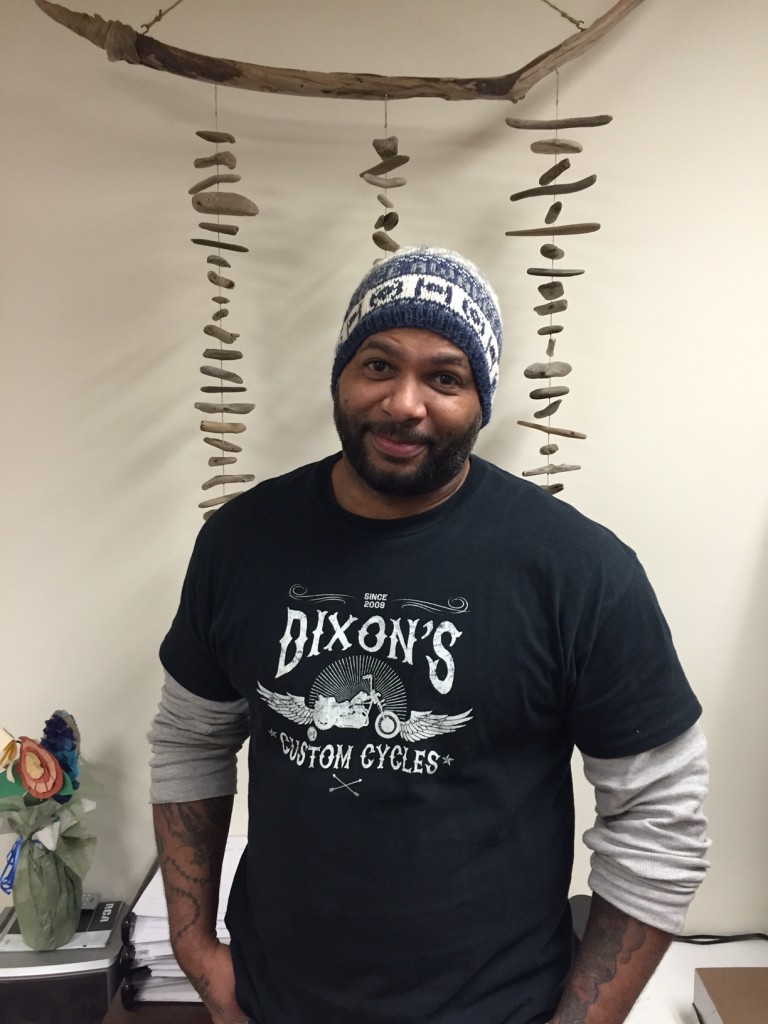
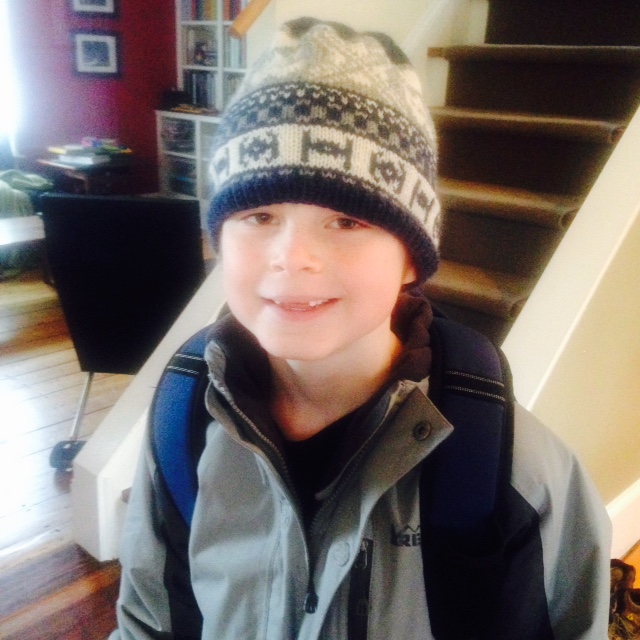
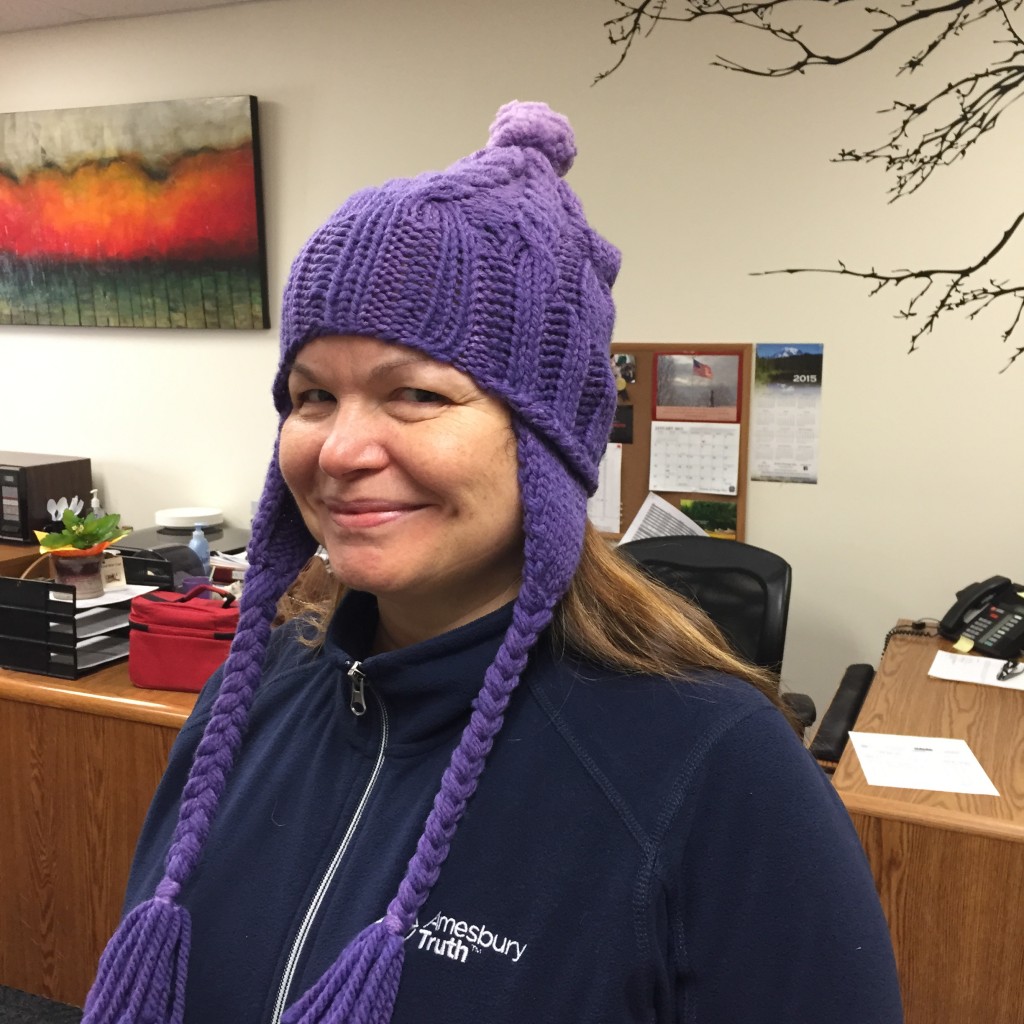
And I also finished another Star Wars hat for my work friend, Ernie. Here he is modeling it for me. I know the hat makes Ernie look crazy cool…but the Walking Dead T-shirt makes him the SHIZZ.  If that shirt were in my size, I would have traded him the hat for the shirt.

image

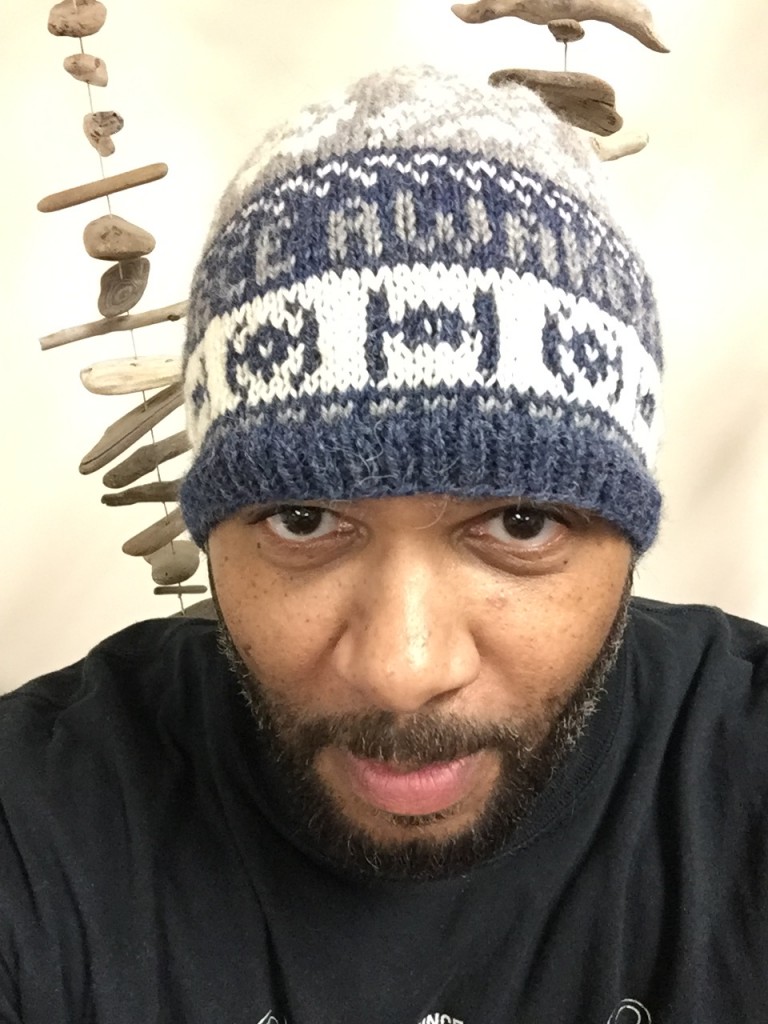
Here’s a close up:

image

Three down, two more to go!


What I’ve been doing

Ok, I could take a lot of time making excuses for not posting for so long…but really, who wants to hear my well-crafted excuses that will try to mislead you all from the fact that I’ve been lazy? So let’s just move on. With some recent inspiration from my sister, I’m hoping I’ve got my blogging mojo back.

Although I haven’t been blogging, I have been knitting. A lot. So I’m just going to dive right in and show you some projects I’ve made in the last 2 years…not necessarily in order though.
The Force Awakens hat

The Force Awakens hat


cooper


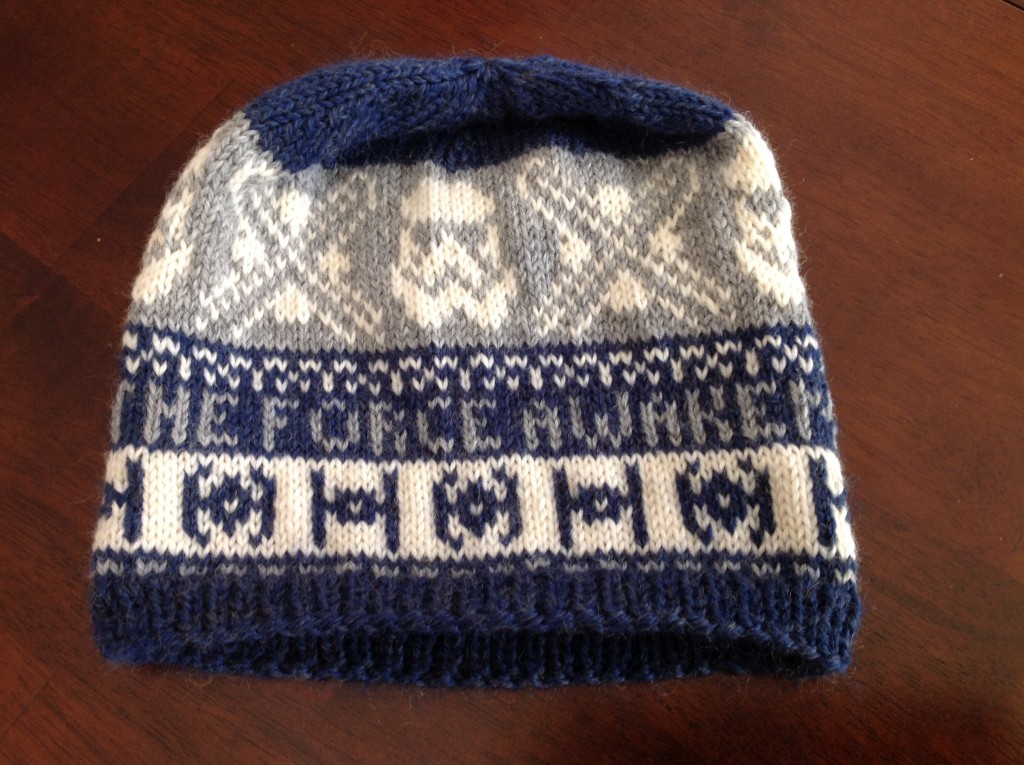
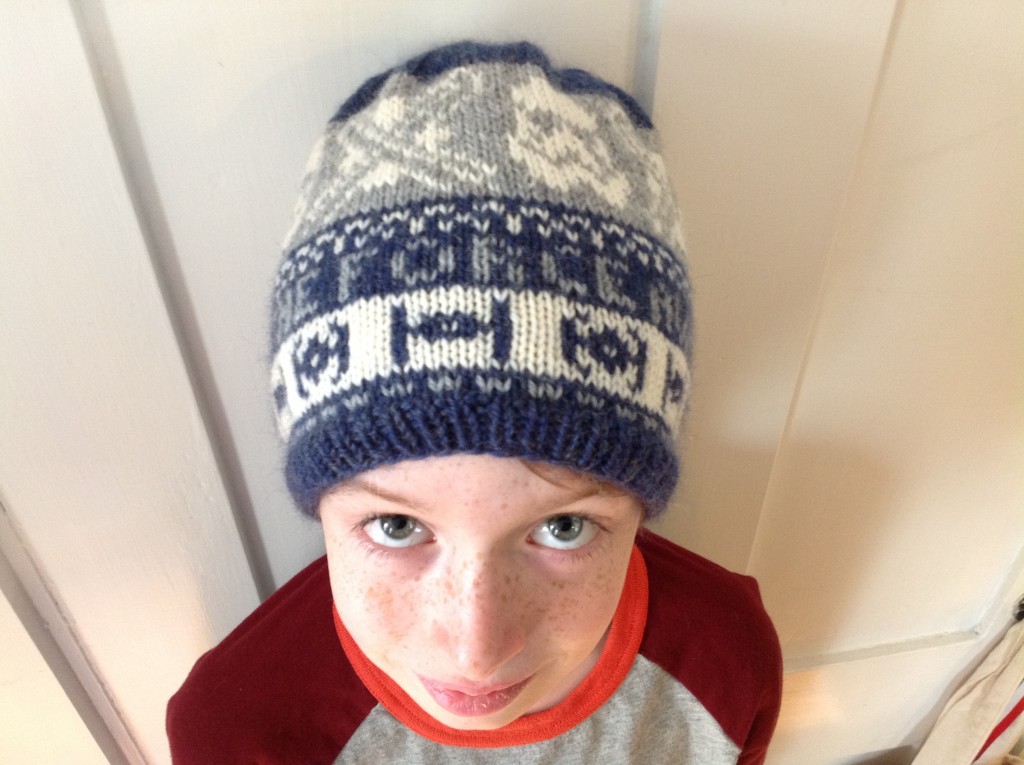
Above is The Force Awakens hat by Hanna L.  How cool is this design?? I’m not even a huge Star Wars fan and I still think I’d wear this hat. I love the colors together too…an R2D2 color theme. I’ve made 2 so far and now I’m starting a third. Then I have two more to go! They’re in high demand. You can find the Ravelry pattern here.

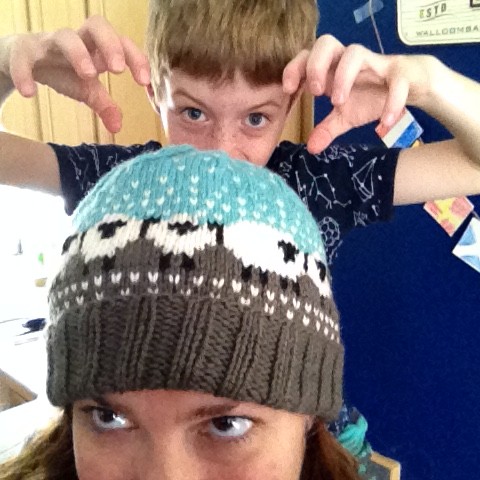
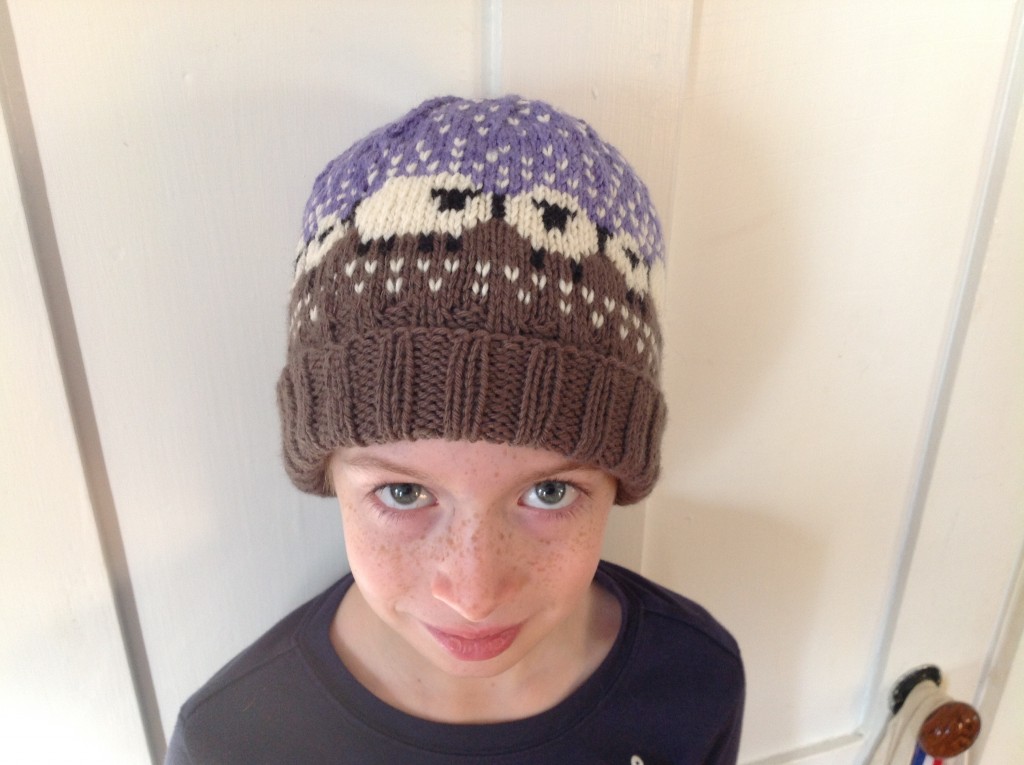
Baa-ble hat

Baa-ble hat

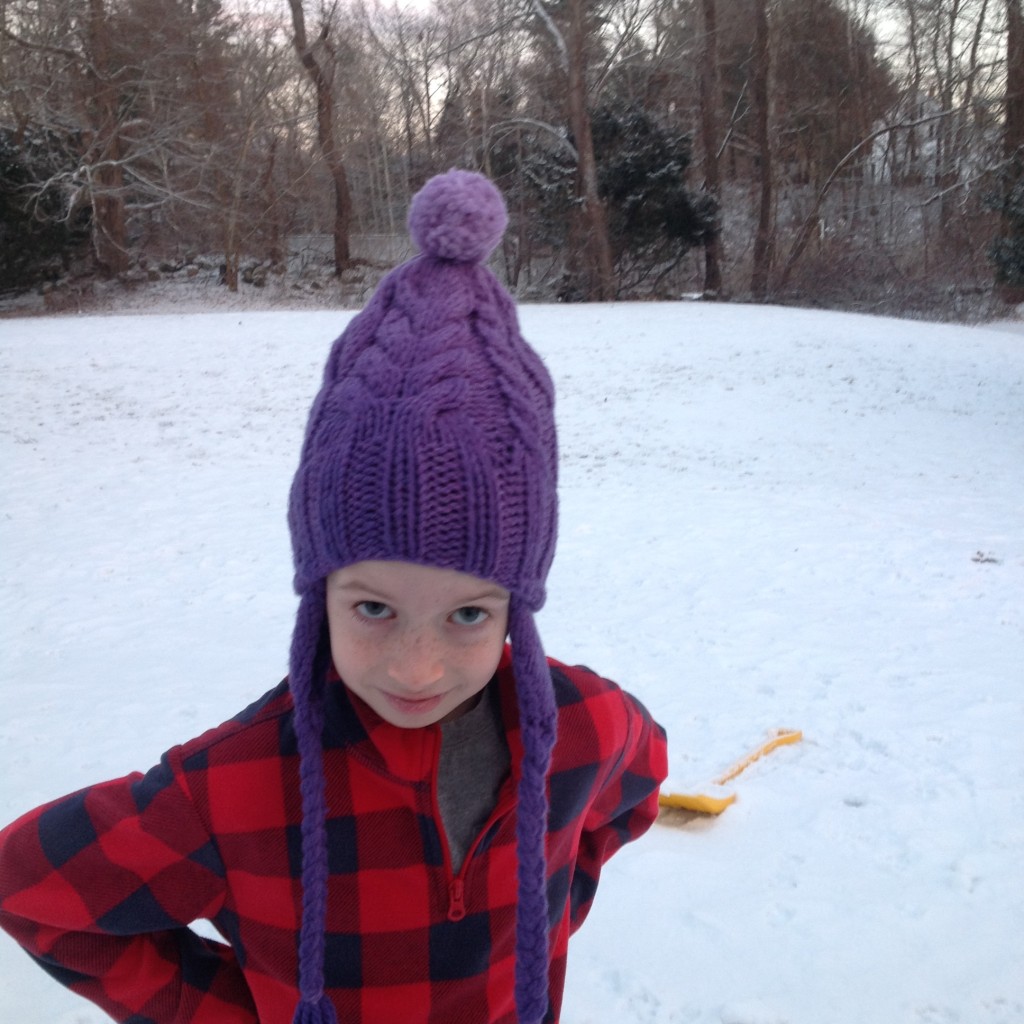
Here is the most popular pattern of the year. It’s the Baa-ble hat. I made 3 of them, 2 in blue and 1 in purple. I fell in love with the cuteness. I might make another for me.

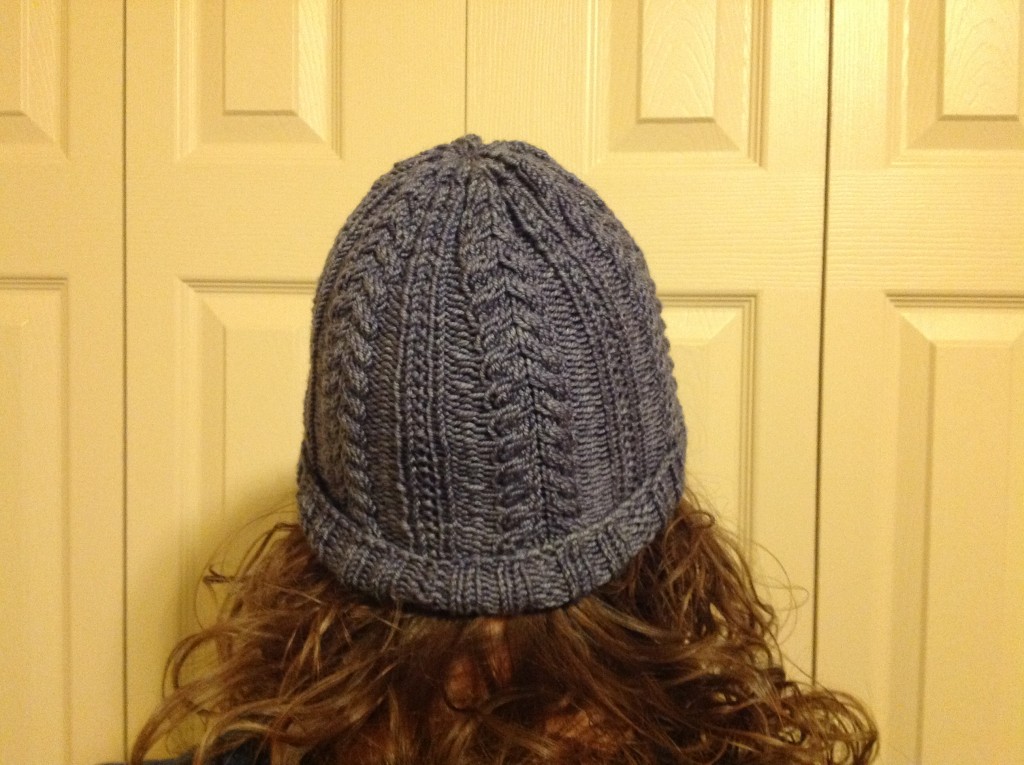
Li's hat

Li's hat


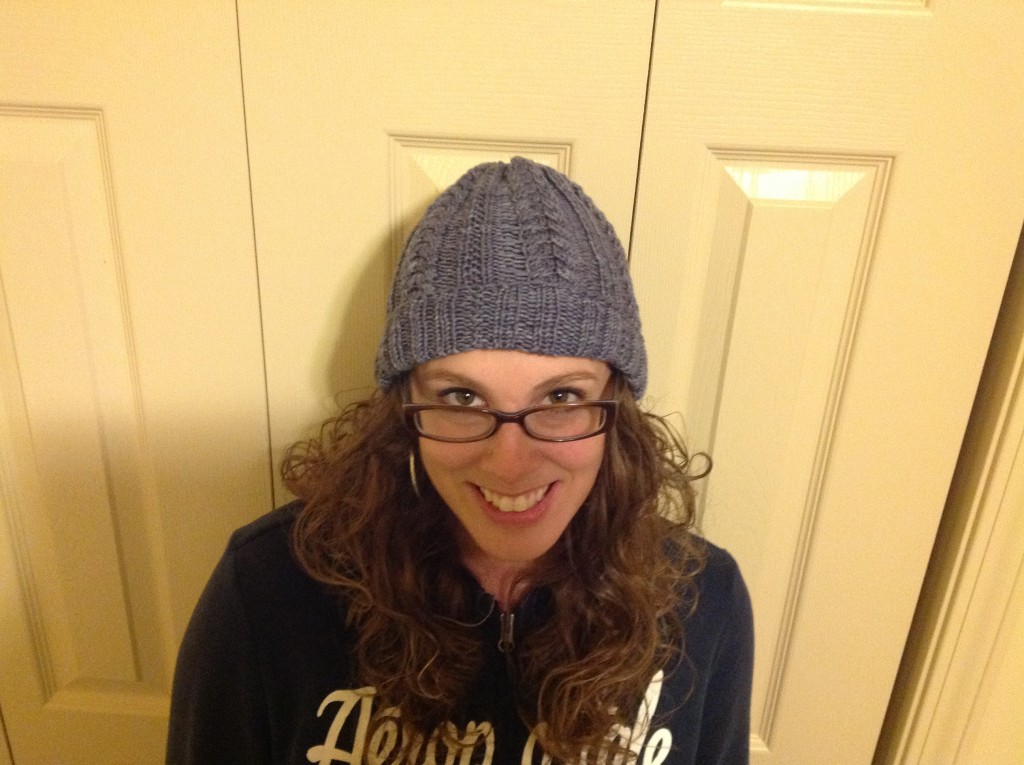
And here we have the Greystone hat by Melissa Thomson that I made for my little sister. The Ravelry pattern can be found here.

Maiya's hat

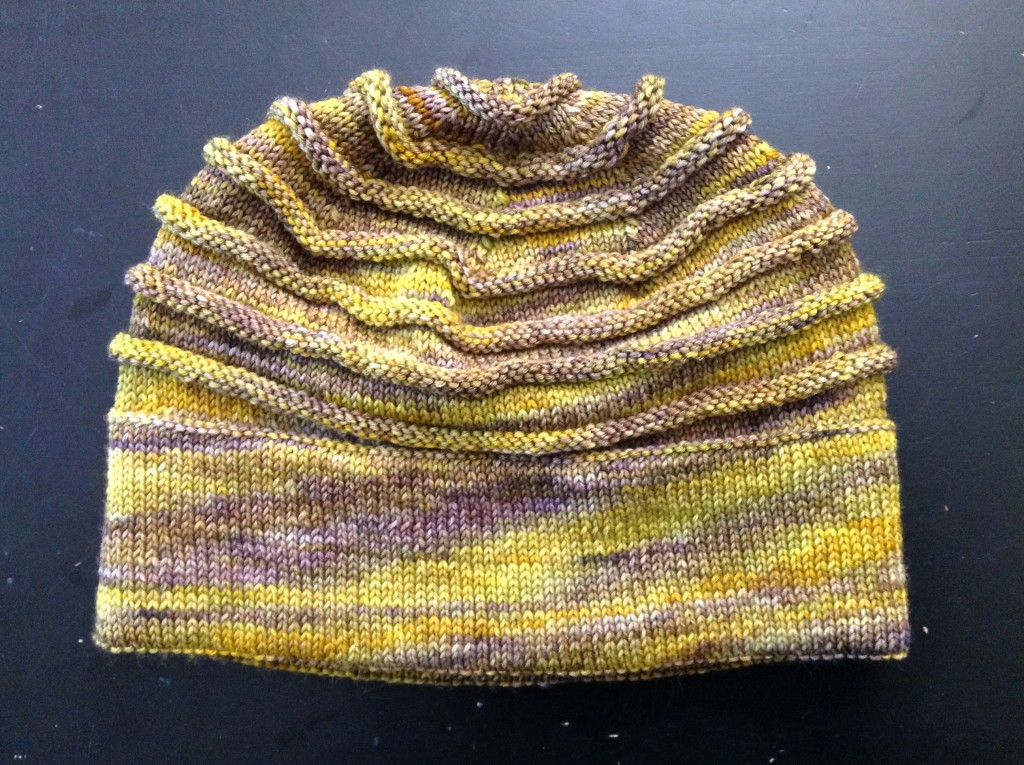
Above is Sumner by Wooly Wormhead. This hat looks so cool when it’s actually on a head, but I forgot to get a picture of my friend wearing it. If you’d like to see it on a head, or many heads, you can see it on Ravelry here. This was not an easy hat. It took a long time and was super challenging. But the end product was worth it.

Fox hat


Harlyn

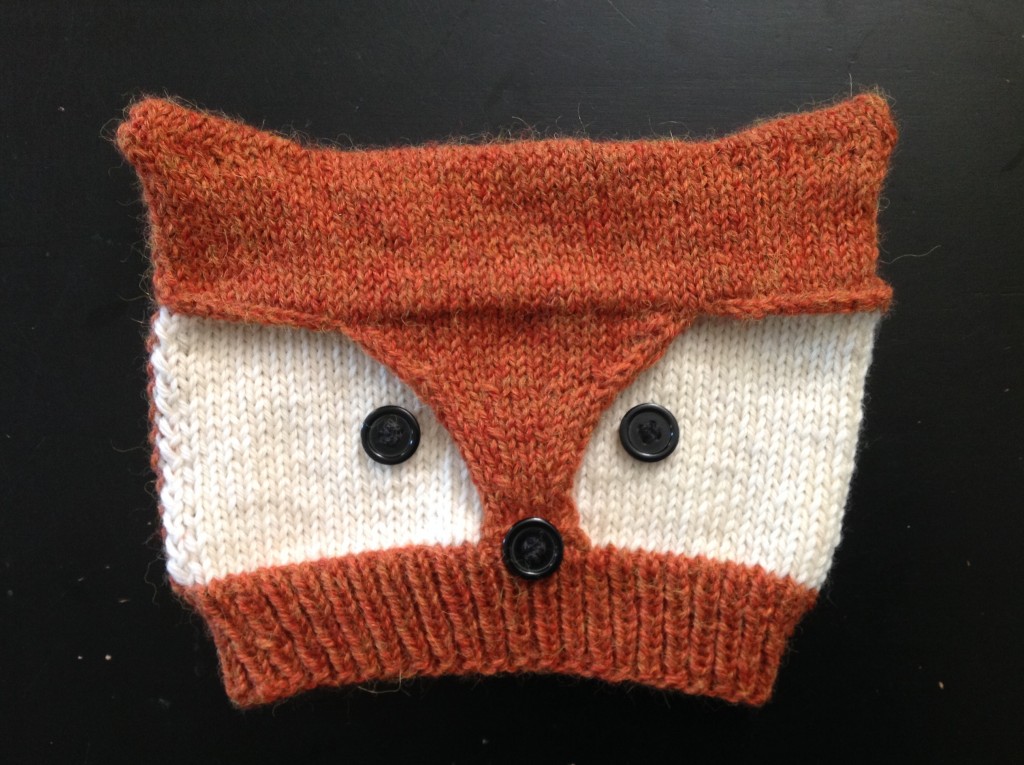
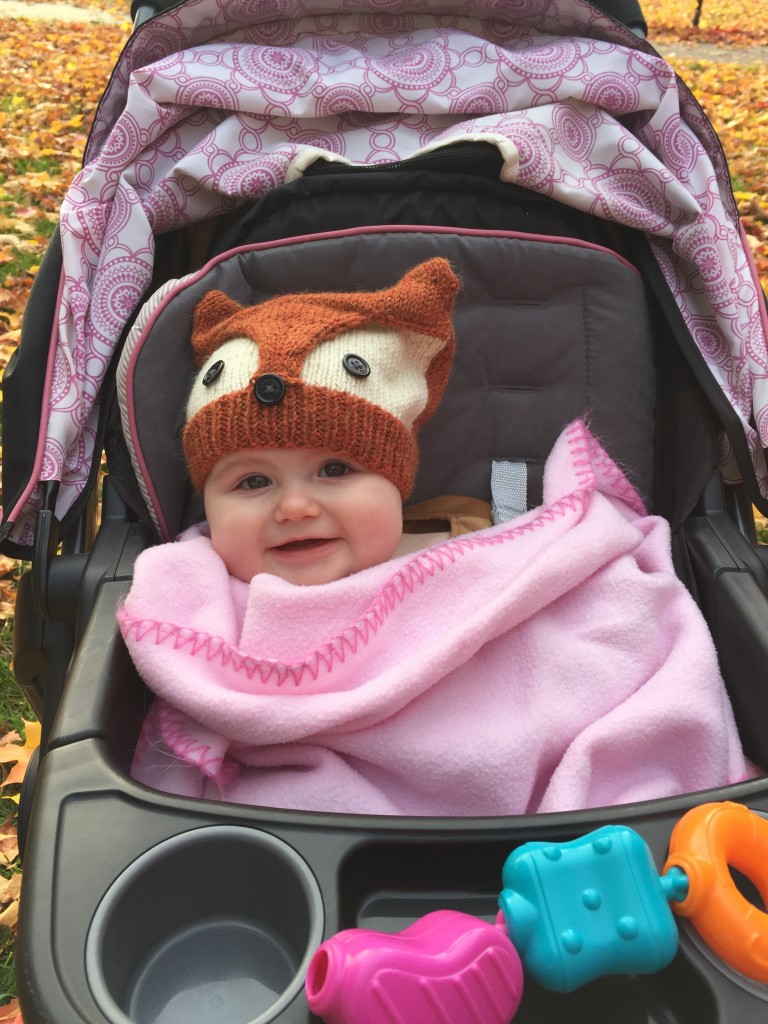
Then we have the Foxy and Wolfie pattern. I made two of these. One was for an Angelman Syndrome auction, the other for the super-cutie seen above.

The Triplets

image

The pink bunny

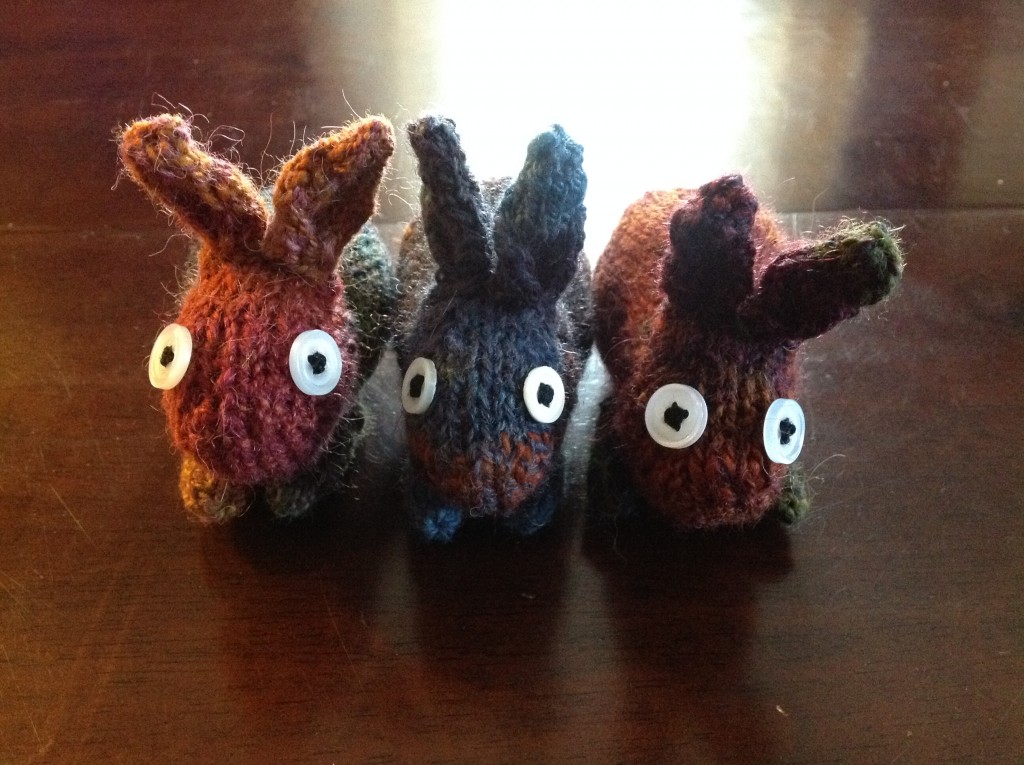
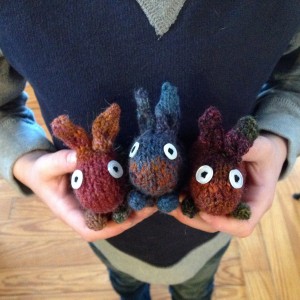
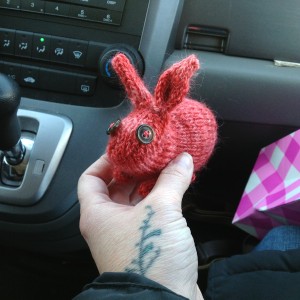
I made 4 of the bunnies above. The pattern is called Henry’s Bunny by Sara Elizabeth Kellner. Each one took me about 5 hours to make. The first 3 that you see together I made from yarn that I spun myself.

Emmet in Jodi's hat

Jodi's hat

Above is the Emma hat by Jennifer Thomassian. I made it for my friend Jodi. Above her picture it is being modeled by my Emmet. He is my favorite model.

Li's socks

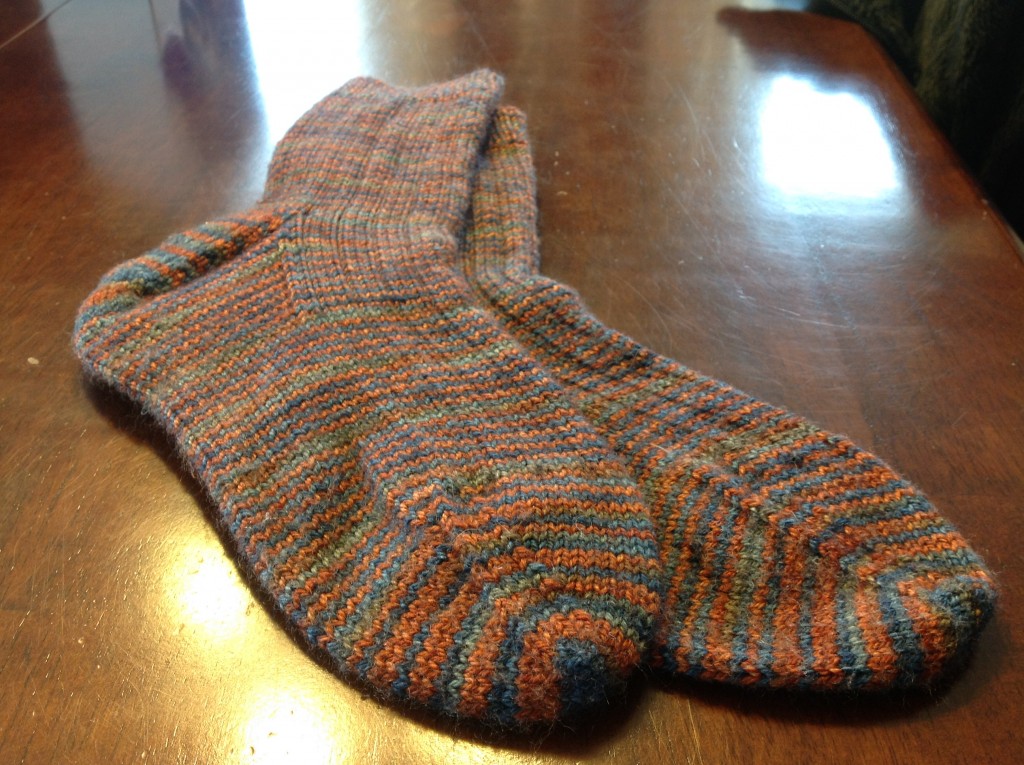
I actually finished a pair of socks! Not this year though. I made these in 2014 for my little sister. I can’t remember which pattern it was, just a plain vanilla ribbed sock pattern. They actually came out too big, and I’m not sure if she’s been able to wear them.

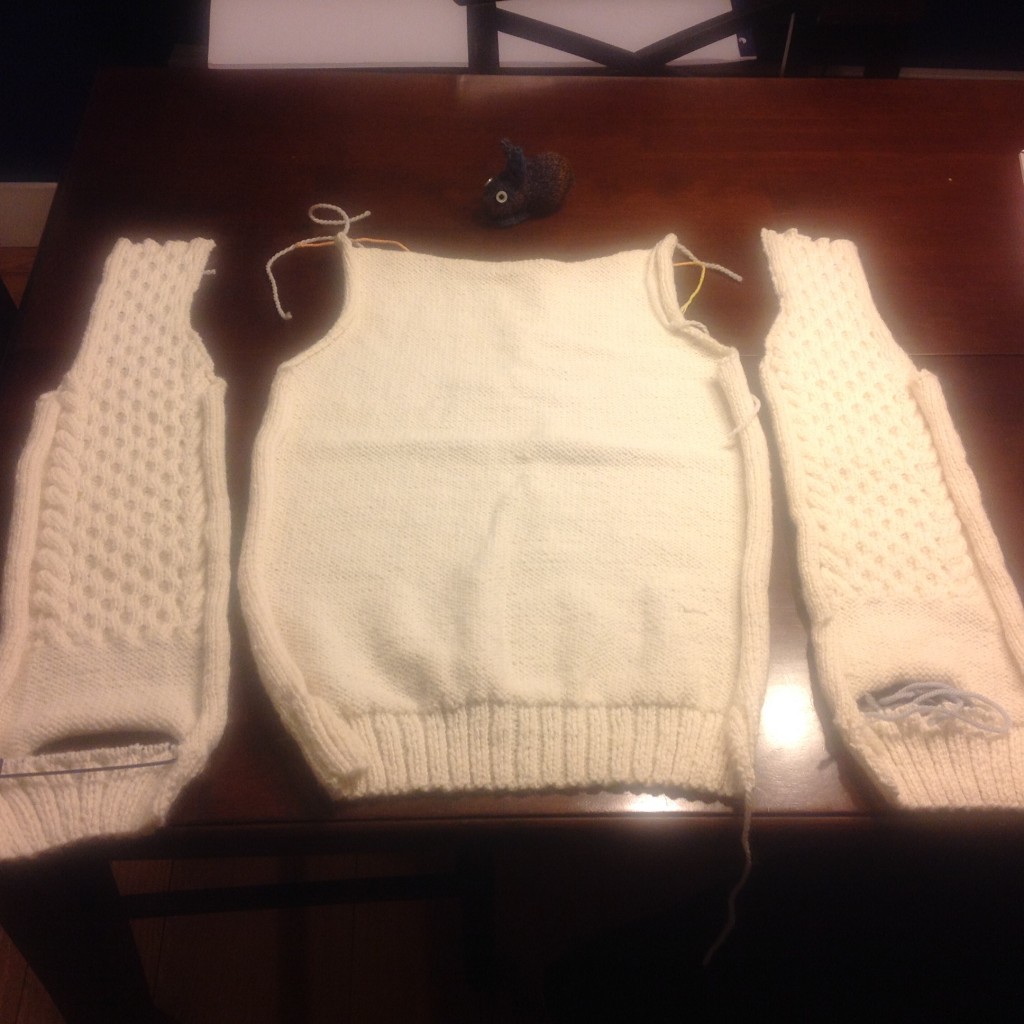
image

Above…above is what I’ve been actively avoiding. So I’ve been working on this vest for my mom for a LONG time, and I’m so close to being done. She wanted a white vest that looked like the one she made for my Gram, her mom. This was the closest we could find, and it is very close. It’s called Caldwell and the pattern is by Stephen West. I chose to ignore the stripes, as I think they look weird and make the vest harder to match to things you’re wearing. I thought a vest would be easier than making a sweater….no sleeves, ya know? I was wrong. Tons of cabling. And I hate seaming. And there’s 3 pieces to seam together (which I already did) and then there’s this ribbed trim that has to be picked up and knit around the edges. And buttons. And button holes. And I don’t think I have enough yarn left, although I thought I calculated correctly in the beginning. Ugh…I don’t want to think about this one right now.

So there we go. I did it! My first blog post in almost 3 years. I’ve actually knitted more projects that I didn’t take pictures of or have forgotten about, I’m sure. But here’s some of what I’ve been doing. Happy New Year everyone! I’ll have more to say soon….I hope to make this a habit again.

« Older posts