So as you may recall from my last post, I recently acquired a roll-top desk from my coworker. It needed quite a bit of work and since then it has been sitting in our mudroom waiting to receive some TLC. I needed to sand it and preferred to do that outside because of the mess. Then came a weekend that was so warm that I actually got to take my project outside!
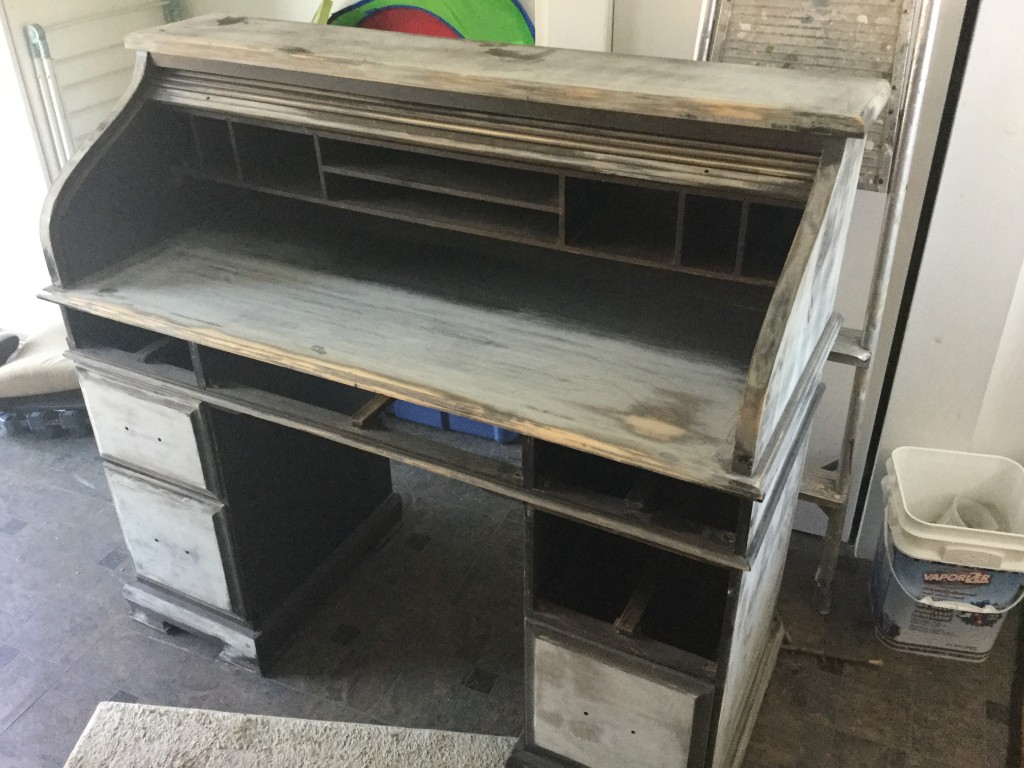
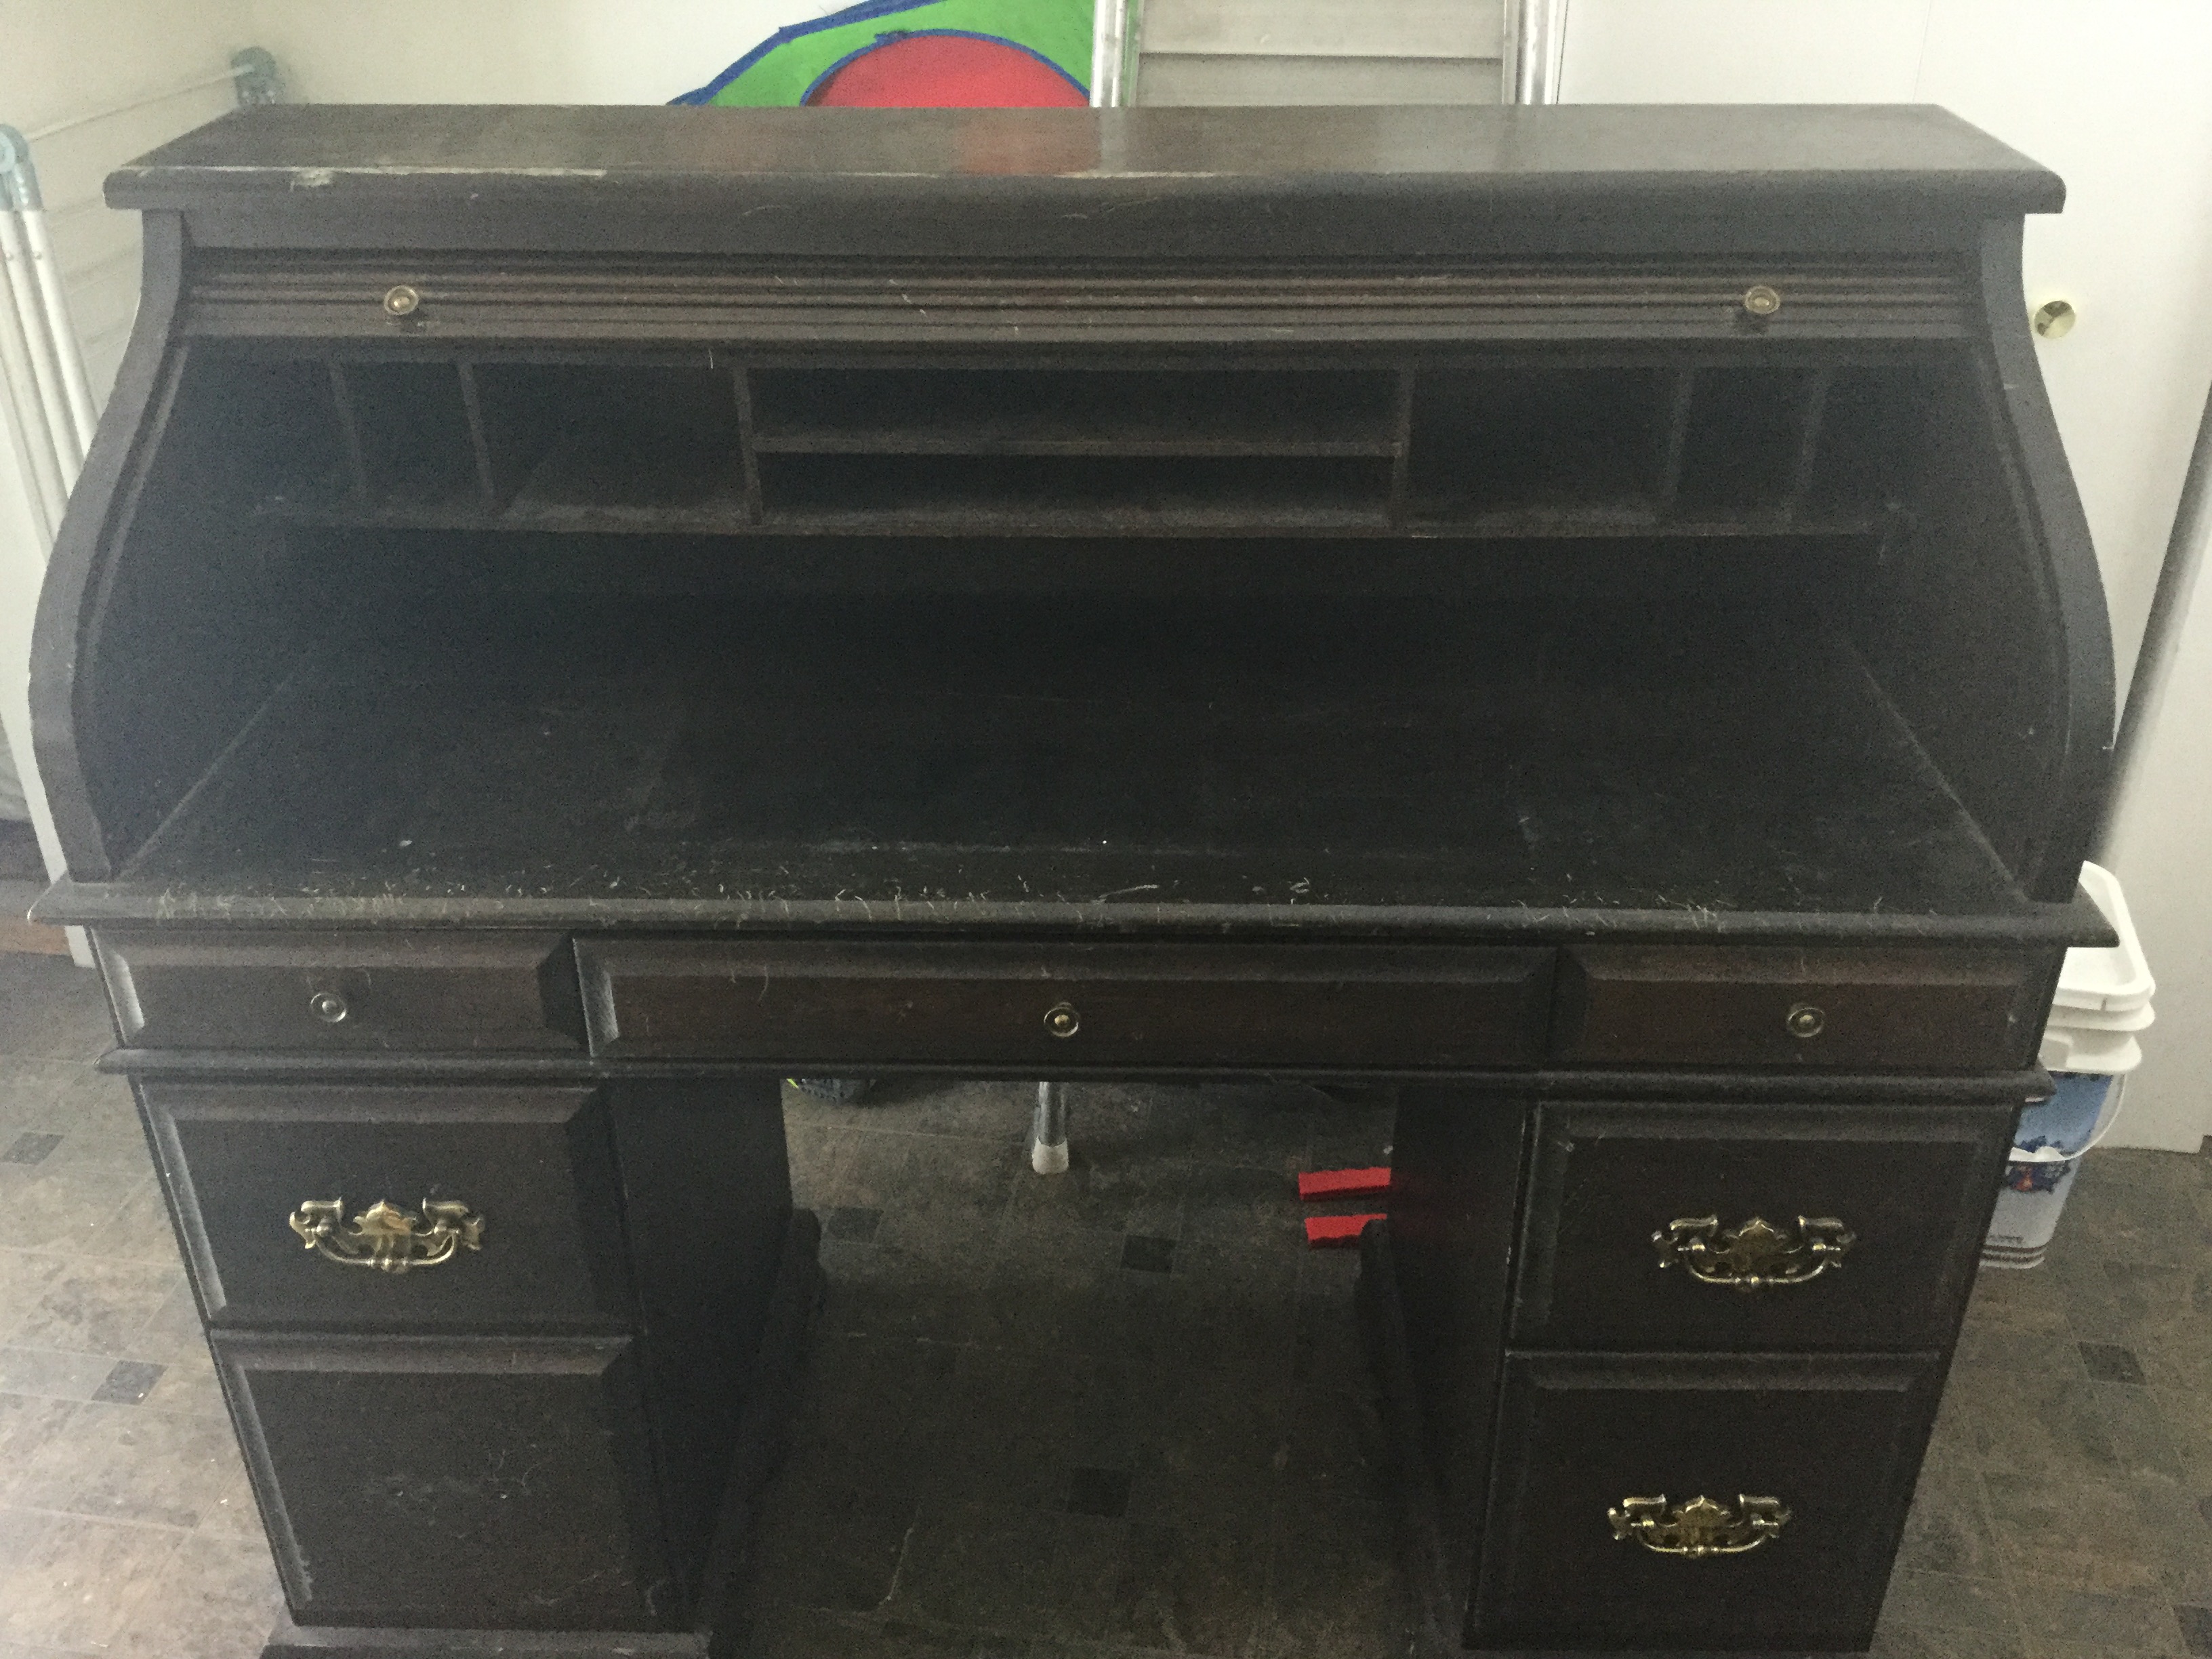
So let me tell you, sanding is way harder than I thought it would be. I was using my husband’s electric sander and it was still hard! And I quickly realized that I could only sand so much and there was no way I was going to be able to get in the little nooks and crannies. Here’s what the desk looked like when I gave up on the stopped sanding:
So. Plan B. I wasn’t even sure of what Plan A was to be honest. I just knew I had taken on this huge project and it had to be done and sanding seemed like the logical first step. Then I remembered my friend Breida talking about milk paint and how much she loves it. I’ve seen some of the furniture she fixes up on her blog and it looks very cool. I went online to check out milk paint and chalk paint and after doing a little research and video watching, I decided to give chalk paint a try and off to the store I went. WalMart and Home Depot couldn’t help me but AC Moore had everything I needed. I bought one bottle of black chalk paint, one bottle of clear wax and one bottle of dark wax.
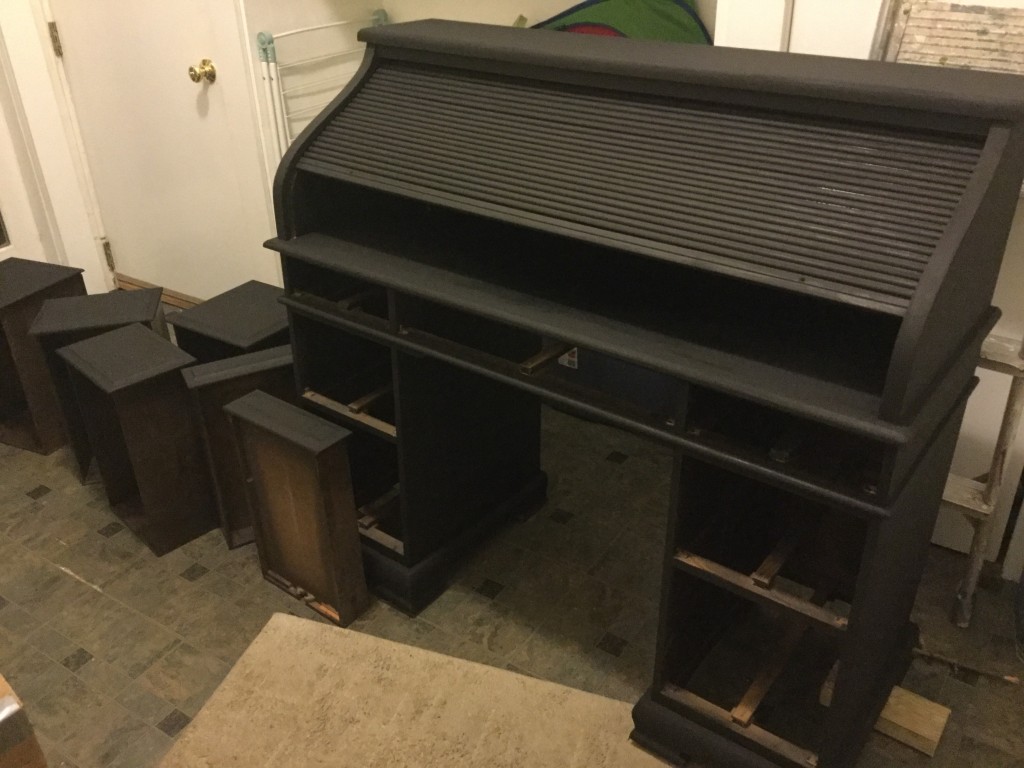
After cleaning the sanding dust of the desk, I applied the paint. The great thing about chalk paint is you can paint it on just about any surface. It didn’t matter that some of the desk was sanded down to the wood and some was still covered in the dark shiny finish. It only took one coat and the result was a VERY matte black. Like staring into a desk shaped black hole.
That dried very quickly, in fact, by the time I was done painting the drawers, the desk was already dry. Next, I waxed it with clear wax. Wax on, wax off. I applied it with a brush and wiped it off with a rag.
Then I took some rough sandpaper and went to work sanding off edges and areas that might naturally wear off. This was my favorite part. The desk completely transformed into a whole different creature.

I love the outlined look!
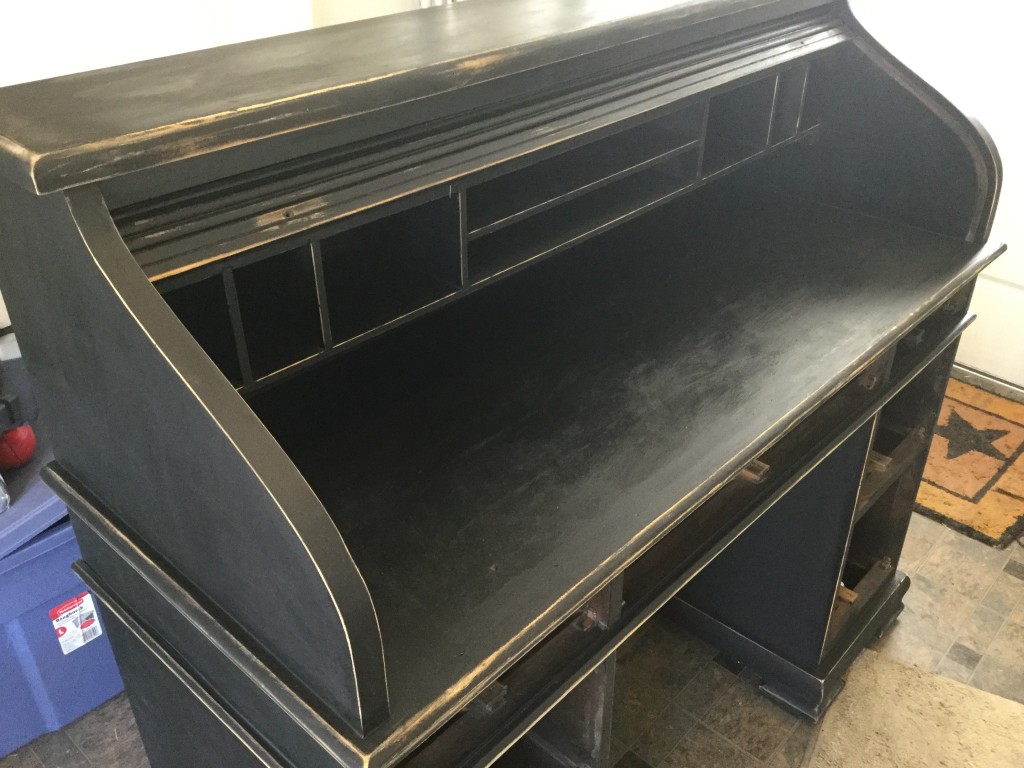
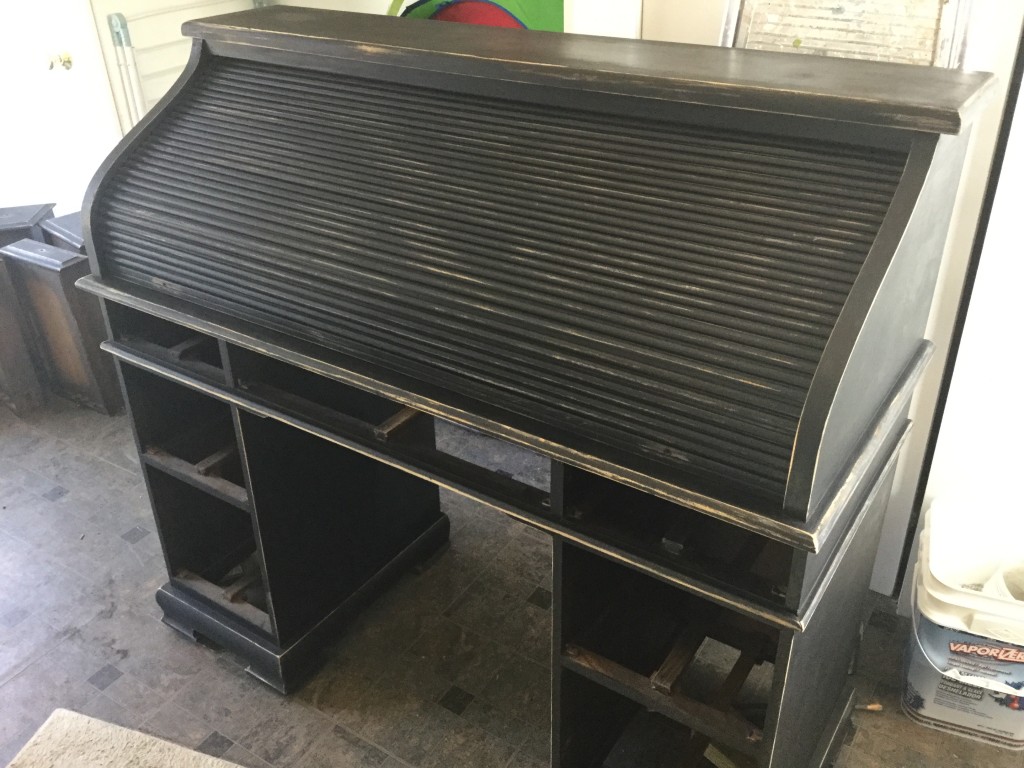
Then I moved on to the next step, which was a coat of dark wax. I knew this would darken the sanded parts, but I hadn’t realized quite how much. Like the clear wax, I painted it on and then rubbed it in with a cloth.
Next, the knobs and drawer pulls. The ones already on the desk were those antique brass finish pulls and I hate those. So I went to Etsy and looked for some unique drawer pulls and found the perfect ones at WallPaperYourWorld’s shop. The owner was a joy to work with and I think they add some femininity to a very masculine looking desk. For the other pulls I went to Home Depot and just went with a simple pull that matched in color. The three from Etsy were the ones I wanted to be the focal point.
So? You want to see the finished product? Here’s the before picture:
And here is the finished desk. Ta Dah!
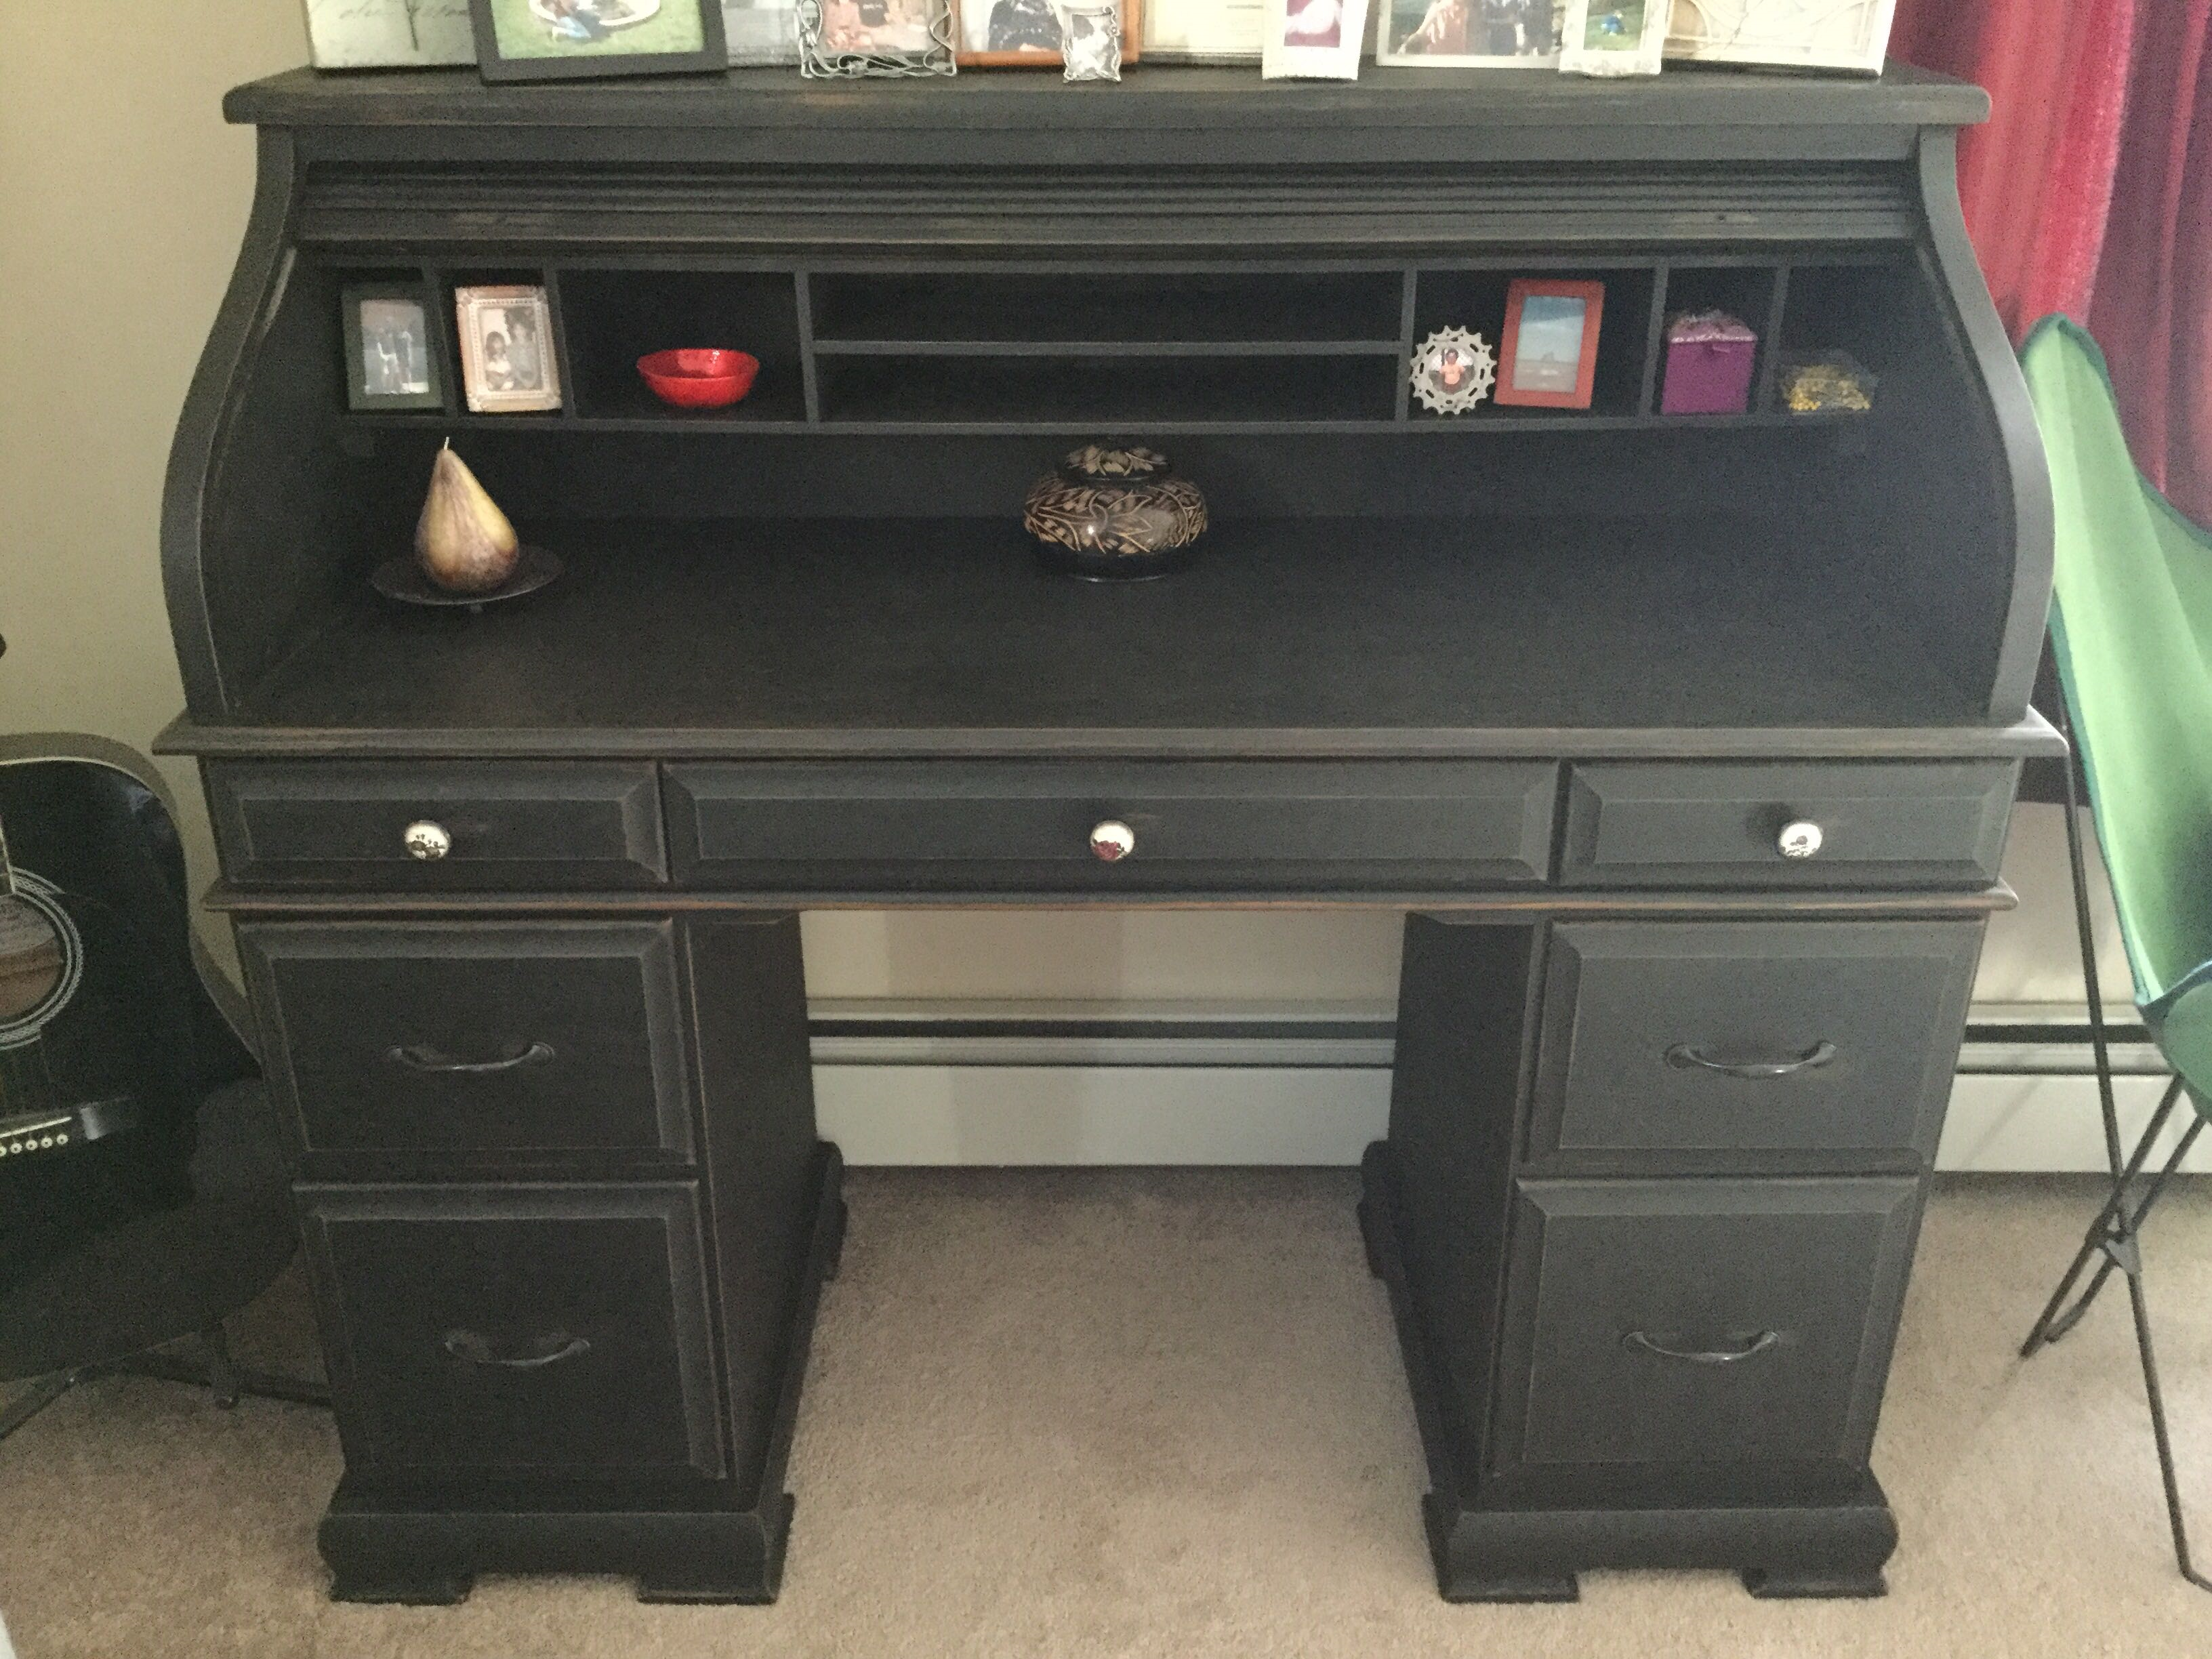
I haven’t had this much fun since knitting! And now I’m addicted to chalk painting. Even before I was done I was looking around the house to see what else I have to refinish. And you know what? I found something. And it’s almost done. I’ll be sure to show you all when it’s ready.
03.18.16 at 12:16 am
Great job Sis!! It really came out great. I would say I was proud of you but I am ALWAYS proud of you. I just think Emmet is so lucky to have such a wonderful role model in his Mom. Love you!!
03.18.16 at 1:19 am
Thanks Shel, I’m so glad you like how it came out, I was really excited for you to see it. I love you too!!
03.18.16 at 7:22 am
Great job! I need to do this to my whole kitchen…. I’m going to look into the milk paint. ??
03.18.16 at 9:56 am
Thank you, Sheree, you should definitely look into it. There are a lot of YouTube videos about it that are helpful.
03.19.16 at 12:55 pm
Looks amazing! You have so many talents. Thanks for sharing the steps, I know that must have taken some extra effort and time but so cool to see the transformation.
03.19.16 at 4:02 pm
Thanks Bonnie! I would think that it would be something that you would especially love to do, being as creative as you are. Watching the transformation was like magic, so fun!